Easy Plum & Ginger Jam Recipe (no pectin)
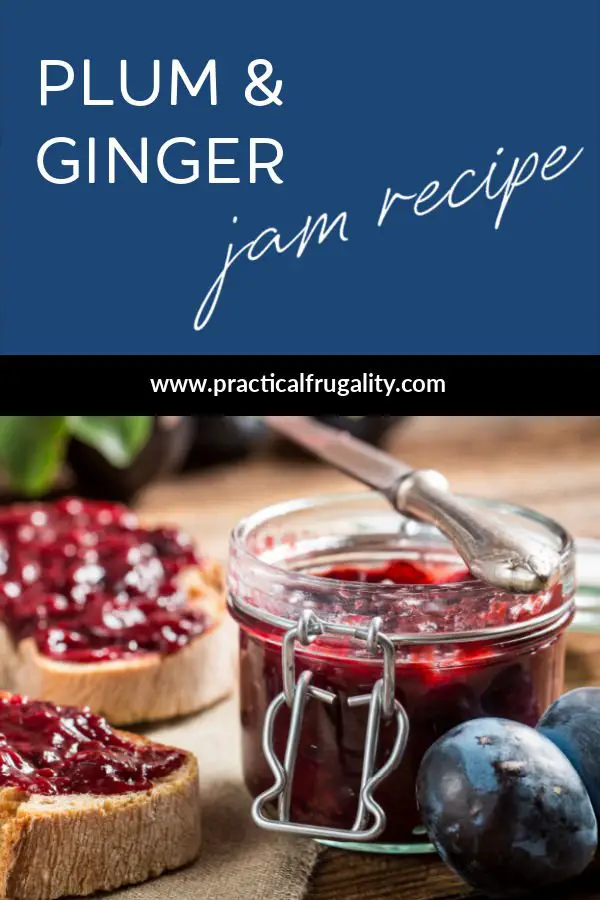
Make delicious plum and fresh ginger jam easily at home! This beginner-friendly recipe uses only natural fruit and sets perfectly without needing any added pectin.
Delicious plum and ginger jam recipe, that’s so easy to make, that you’ll wonder why you’ve never tried it before! Can be made any time of the year, but it’s great with a local (in season) plums.
My favourite reasons for making this recipe
The traditional plum jam recipe is a great base for differently flavoured plum jams. This is one is perfect for cold autumn mornings as the warmness of the ginger makes the jam so delicious!
Plus, plum jam could be sometimes a little bland, so adding ginger and lemon helps to add a fabulous flavour.
PIN THIS FOR LATER
Jam making equipment you will need
Before you start cooking, it’s helpful to gather all your tools. For this recipe, you’ll definitely need a very large saucepan. Jam swells up as it boils, and you don’t want it bubbling over onto your stove—that’s a big mess!
Make sure your saucepan is deep enough to hold the ingredients and still have plenty of room at the top. You will also need a wooden spoon or heat-proof spatula for stirring.
Safety is key when making jam. Jam gets incredibly hot, much hotter than boiling water, because of the sugar content. When stirring, wear an oven mitt on the hand holding the pot handle to protect yourself from any steam or splashes.
When you are ready to transfer the hot jam into the jars (called “potting up”), make sure to use a metal ladle and a funnel if you have one. This helps get the jam into the narrow jar opening without spilling the hot liquid onto your hands or the counter.
Plum & Ginger Jam Ingredients
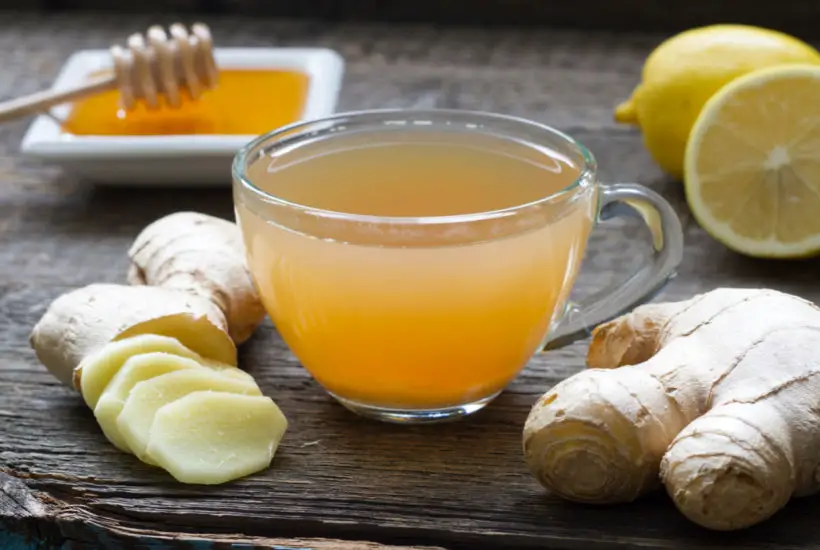
Ginger
You can use fresh ginger or ground ginger in this recipe, but if I can I use fresh ginger, as it’s much more zingy and ehm…fresh!
The amount of ginger you use it’s entirely up to you. If you prefer a milder taste use a little less and taste it first before you add the whole amount.
The ground ginger is easy enough to use (just add it in), but if you are using fresh ginger, make sure you first cut off the skin and then grate it on a very fine grater (or stick it into a food processor). You don’t want to have any big pieces of ginger in your plum jam.
If you have any leftover ginger you can use it for making fresh ginger tea which is great for calming upset stomach and can help with easing stomach cramps for example if you are not well after eating too much popcorn.
You can also choose to do a lot of the preparation in advance and leave the whole mixture overnight but you don’t have to.
I’ve made this recipe several times and I always seems to follow a different timing, but it all works in the end!
MORE HOMEMADE JAM RECIPES
Lemon Juice
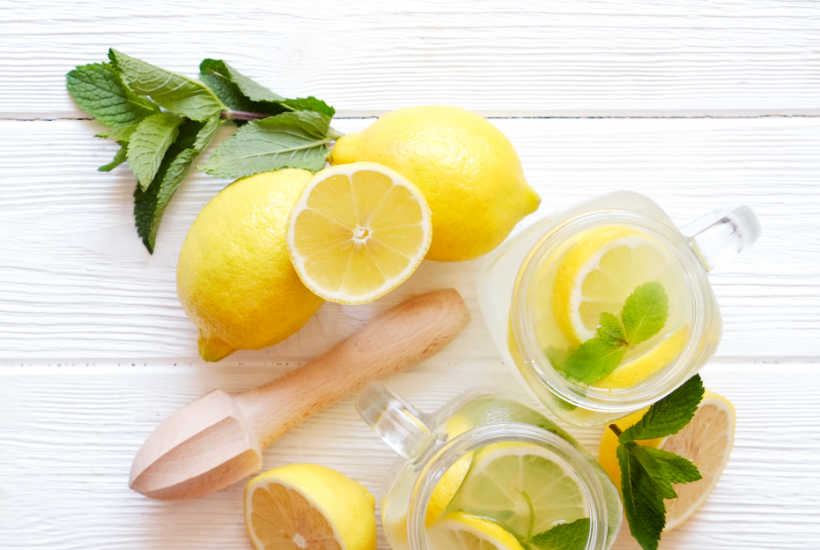
If you can use a fresh juice of lemon as it will give you more authentic flavour. But if you are out of lemons and only have a concentrated lemon juice, use that instead.
The only thing you need to bear in mind, is that you’ll need to use about 1/2 of the quantity otherwise the jam might be too lemony.
Sugar
I tend to use white sugar for my jam making, but you can also mix in brown or light brown sugar in, if you like.
This will affect the flavour, but if you are thinking of turning this recipe into a seasonal treat (say with seedless raisins soaked in rum), something like about 1/3 of dark sugar will work really well. It will deepen the flavour and make the jam darker in colour.
MORE JAM & PRESERVES RECIPES
What kind of plums are suitable for this jam recipe?
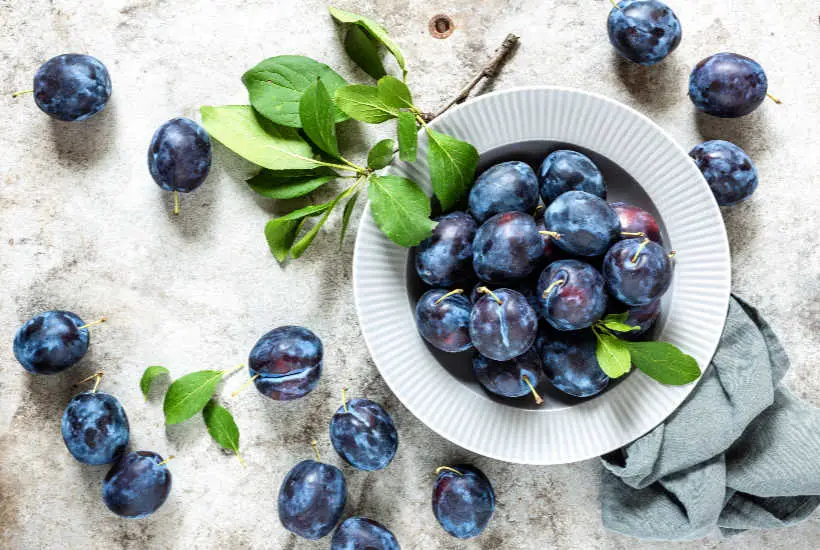
This plum & ginger jam recipe can be made with any kind of plums. The the final flavour will depends on the type of plums you use.
If I had a choice, I would always use plums from local farm, or foraged plums from the countryside, because these will have more flavour (and sugar) as they are allowed to ripen on the tree.
If you buy supermarket plums, taste them first. If they taste bland and kind of watery, you’ll have a trouble turning that into something flavoursome, no matter how much ginger, sugar or lemon you add.
MORE HOMEMADE JAM RECIPES
The recipe batch size
If you find that my batch size made from 1 kg of fruit is too big, jut half it and make it from 500 g of fruit.
The rest of the ingredients need to be halved too. The cooking time needs to be reduced by about 1/3 of it’s time.
How to make easy Plum & Ginger Jam at home without pectin
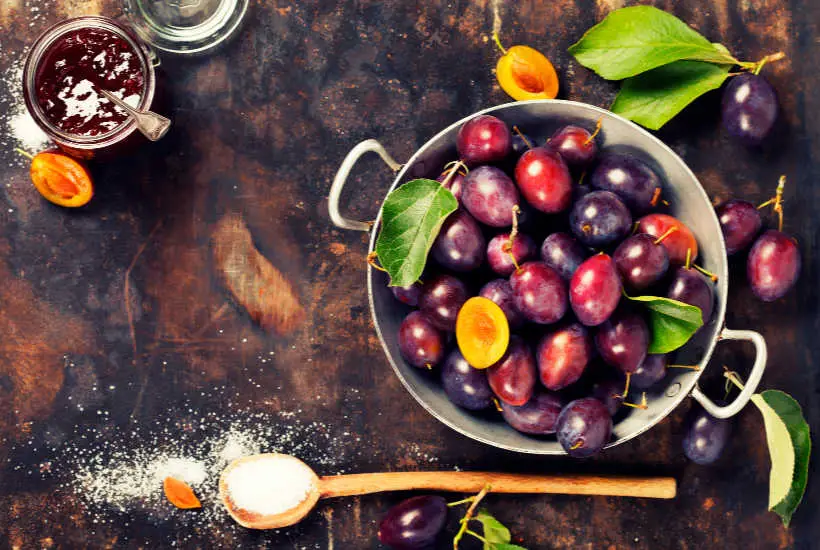
Cut all of the plums into halves and remove the stones. Add everything to a large saucepan and mix in the white sugar. Cover with a lid and leave for few hours (or overnight, if you like)
Add the ginger and juice from one lemon.
Place the saucepan on a low to medium heat and gently stir the jam until the sugar has dissolved completely.
Once the sugar has dissolved, raise the heat slightly and bring the jam to a boil for around ten minutes, or until the jam starts to get thicker.
Take the saucepan off the heat and test the jam to see if reached its setting point. The way to do this is to put a small teaspoon of the jam on a cold plate and if in about five minutes the jam firms up, its ready to be potted.
If the testing jam hasn’t firmed up in 5 minutes on the plate, put the whole saucepan back onto the medium heat and continue boiling for another 5 minutes. Repeat the test and pot up when ready.
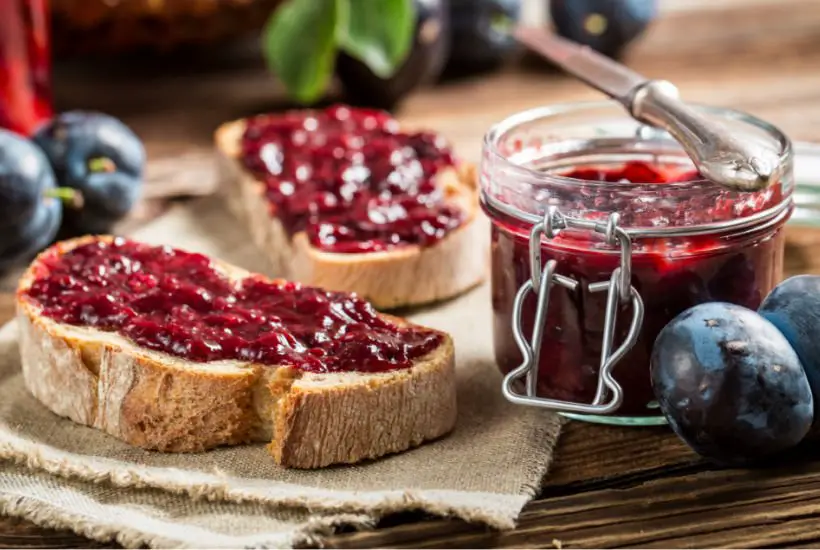
The Cold Plate Test: Checking for the Jam Set
The best way to know if your jam is ready is by performing the Cold Plate Test. Before you even start cooking, place two or three small ceramic or glass plates in your freezer to get them completely chilled.
When you think the jam has boiled long enough and looks thick, remove the saucepan from the heat. Carefully take one cold plate out of the freezer and use a teaspoon to put a small dab of the hot jam right onto the center of the plate.
Return the plate to the freezer or fridge for about two minutes. This rapid cooling mimics what happens when the jam cools in the jar. After two minutes, take the plate out, and gently push the edge of the jam puddle with your finger.
If the jam is ready, it will wrinkle or stay firm and not run back together. If the jam is still too runny and just pools back together when you push it, it hasn’t reached the setting point yet.
Put the saucepan back on medium heat, boil it for another three to five minutes, and then repeat the cold plate test with a fresh cold plate.
My tips on using lemon instead of added pectin to set your jam
You might wonder why we add lemon juice to a fruit recipe. It’s not just for a little extra flavor! The lemon juice contains something called pectin, which is a natural substance found in fruits (especially high in lemon peels and plums).
When pectin is mixed with acid (from the lemon juice) and sugar and then heated, it forms a kind of gel. This gel is what makes the jam thicken up and hold its shape—we call this the setting point.
If you use very ripe or sweeter plums, they might have less natural pectin, which is why the lemon juice is so important. The low-to-medium heat step where you dissolve the sugar is also critical.
If you start boiling the jam before the sugar is fully dissolved, you might end up with sugar crystals in your jam, and it might not set properly. Patience here pays off!
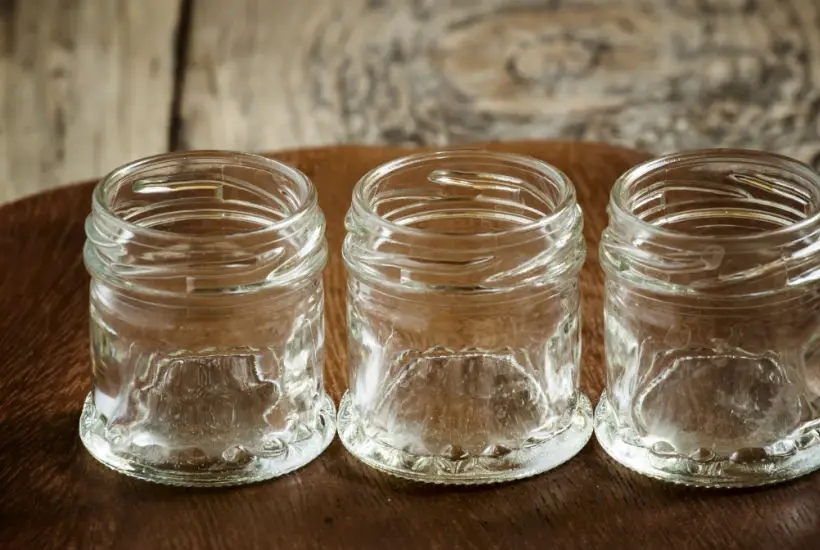
Preparing Your Jars for Storage (Sterilizing)
A crucial step in making jam that lasts for a year (or more!) is properly preparing your jars. This process is called sterilizing, and it kills any bacteria, mold, or tiny organisms that could spoil your jam over time. If you don’t sterilize the jars, your perfectly made jam could mold within a few weeks, even if you keep it in the fridge!
A simple way to sterilize is to wash your glass jars and lids (not the seals yet) thoroughly with soap and water, then place the jars upside down in a clean oven set to a low temperature (like 250 F or 120 C for about 15 minutes.
Alternatively, you can run them through a hot cycle in a dishwasher. The goal is to heat them up so hot that they are completely clean and dry before you put the hot jam inside. Never pour hot jam into a cold jar, as the glass could crack!
Jam shelf life
Providing that you’ve sealed the jam jars correctly with a good seal and there is no more than about 1 cm gap between the seal and the jam level, your Plum & Ginger Jam, should last a minimum of 12 months.
I’ve had mine jams for more than 12 months, mainly because I’ve forgot about a couple of jam jars at the back of the cupboard and they were fine after about 15 months.
How best to store your jam
I keep my filled jam jars in dark cupboard in the kitchen, which is close to a cold wall. So somewhere cold (ish) and constant temperature is perfect.
Once you open your jam jar, keep it in the fridge and use within 2-3 weeks (maximum 4 weeks, but keep an eye on any developing mould).
Stay in touch
Hope this blog post inspires you to make this recipe and if you do, I’d love to what you think! Let me know in the comments below or find me on Instagram, Facebook or Twitter and add the hashtag #practicalfrugality so that I can see your post.
Or why not subscribe to my weekly newsletter with frugal living tips and recipes straight to your mailbox.
Magdalena
Easy Plum & Ginger Jam Recipe (no pectin)
Equipment
- preserving pan or large saucepan
- jam thermometer (optional)
Ingredients
- 1 kg plums
- 1 kg sugar white or jam making sugar
- 1 medium size fresh ginger or 4 teaspoons of ground ginger (dry version)
- 1 lemon
Instructions
- Cut all of the plums into halves and remove the stones. Add everything to a large saucepan and mix in the white sugar. Cover with a lid and leave for few hours (or overnight, if you like)
- Add the ginger and juice from one lemon.
- Place the saucepan on a low to medium heat and gently stir the jam until the sugar has dissolved completely.
- Once the sugar has dissolved, raise the heat slightly and bring the jam to a boil for around ten minutes, or until the jam starts to get thicker.
- Take the saucepan off the heat and test the jam to see if reached its setting point.
The way to do this is to put a small teaspoon of the jam on a cold plate and if in about five minutes the jam firms up, its ready to be potted. - If the testing jam hasn't firmed up in 5 minutes on the plate, put the whole saucepan back onto the medium heat and continue boiling for another 5 minutes. Repeat the test and pot up when ready.
This blog post was originally written on 14 September 2020 and last updated on 22 November 2025